Thursday, April 28, 2011

I Am Lovin My Rosette Die!

I recently purchased a rostte die from MFT, and I love it. You can, of course make your own rosettes as big or as small as you like, but if you are in a hurry (usually me) or lazy (also usually me) this die will save you time. Its six inches long, so you will have to die cut 2 of them to make one rosette.
If you want to make your own rosette, just cut a long strip of paper about 1- 1 1/2 inches wide and about 12 inches long. Using your scoring tool, score lines every quarter to half inch, depending on the width you want. Do this all the way down the strip, making sure you score along the short end, so you end up with many score lines. Then, just fold them back and forth all along the strip till you get to the bottom.
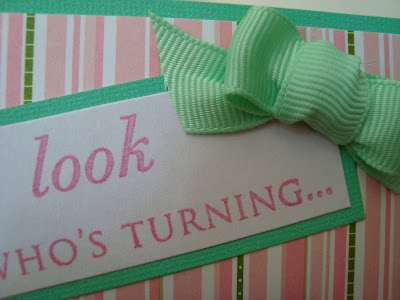
Attach the ends and you have a rosette! Here is the card I made for my niece Jacqueline a few weeks ago. It is so pretty and colorful in person. I also thought that her Mom could use the front of this card on a scrapbook page celebrating her day, so I didnt add anything else to the front.

Some detail of the bow.
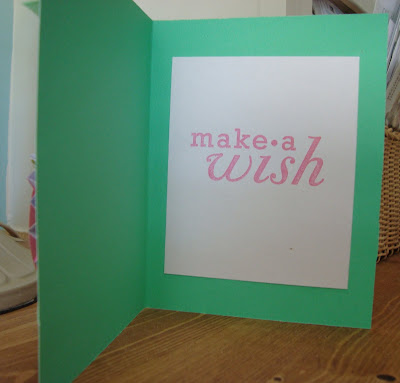
Inside of the card. The cardstock is all Stampin Up, while the patterned paper is all from my stash.
Many thanks for stopping by....

Please let me know if you try making your own rosette, and how it came out!


Sunday, April 24, 2011

HAPPY EASTER!!

To all my wonderful readers~ May you find renewed peace and happiness on this wonderful day of Ressurection. Photo -Pottery Barn.
Many thanks for stopping by...

Thursday, April 21, 2011

My Family Easter Card

Hopefully, everyone that is receiving this card for Easter has gotten it, and I didnt ruin their surprise. This is the card I made and sent out to my family and sweet friends.
It was made with the Stampin Up Clear Mount set called Easter Blossoms. I fell in love with this set as soon as I spyed it in the little catalog. Its right up my vintage lovin alley~LOL. The girl is stamped in Versamark and embossed with a detail black embossing powder made by Ranger. Sentiment is stamped in Memento Tuxedo Black ink. Branch on the inside is SU ink Baja Breeze.


Using Nestabilities, I framed her in an oval shape, and layered her a couple of times.
My papers are a mixture of SU, Flair, and whatever else I had in my art studio. The card base and matching envelope are Recollections from Michaels.


I sponged in a sky and grassy area around her with SU Baja Breeze and Soft Celery inks, and a makeup wedge.


Here is some of my stack getting ready to go to their new homes.


Many thanks for stopping by...


Wednesday, April 13, 2011

ONE OF THE THINGS I HAVE BEEN DOING....

Besides being a slacker as far as this blog goes (sorry~) is making these adorable glittery Easter eggs!!! Arent they the best?? I love how they came out, and they are sooo easy to make~ Start with things like these...... Use 1 part water mixed with 2 parts glue and stir.
Add some of this.... (my paper is torn up french dictionary pages) Tearing into squares is better than the customary strips for this project.
And then get your hands dirty and have fun!!! while still wet from the glue, roll the eggs into a bowl of chunky glitter- I used Marthas of course.
Let them dry at least overnite, and then decorate with ribbon or seam binding ( I used a bit of both) and whatever your heart desires. I used flowers, greenery, buttons, and even a purple butterfly.

I put them in a bowl on my Dining room table, and I love walking past them to see their glittery goodness!
Many thanks for stopping by...